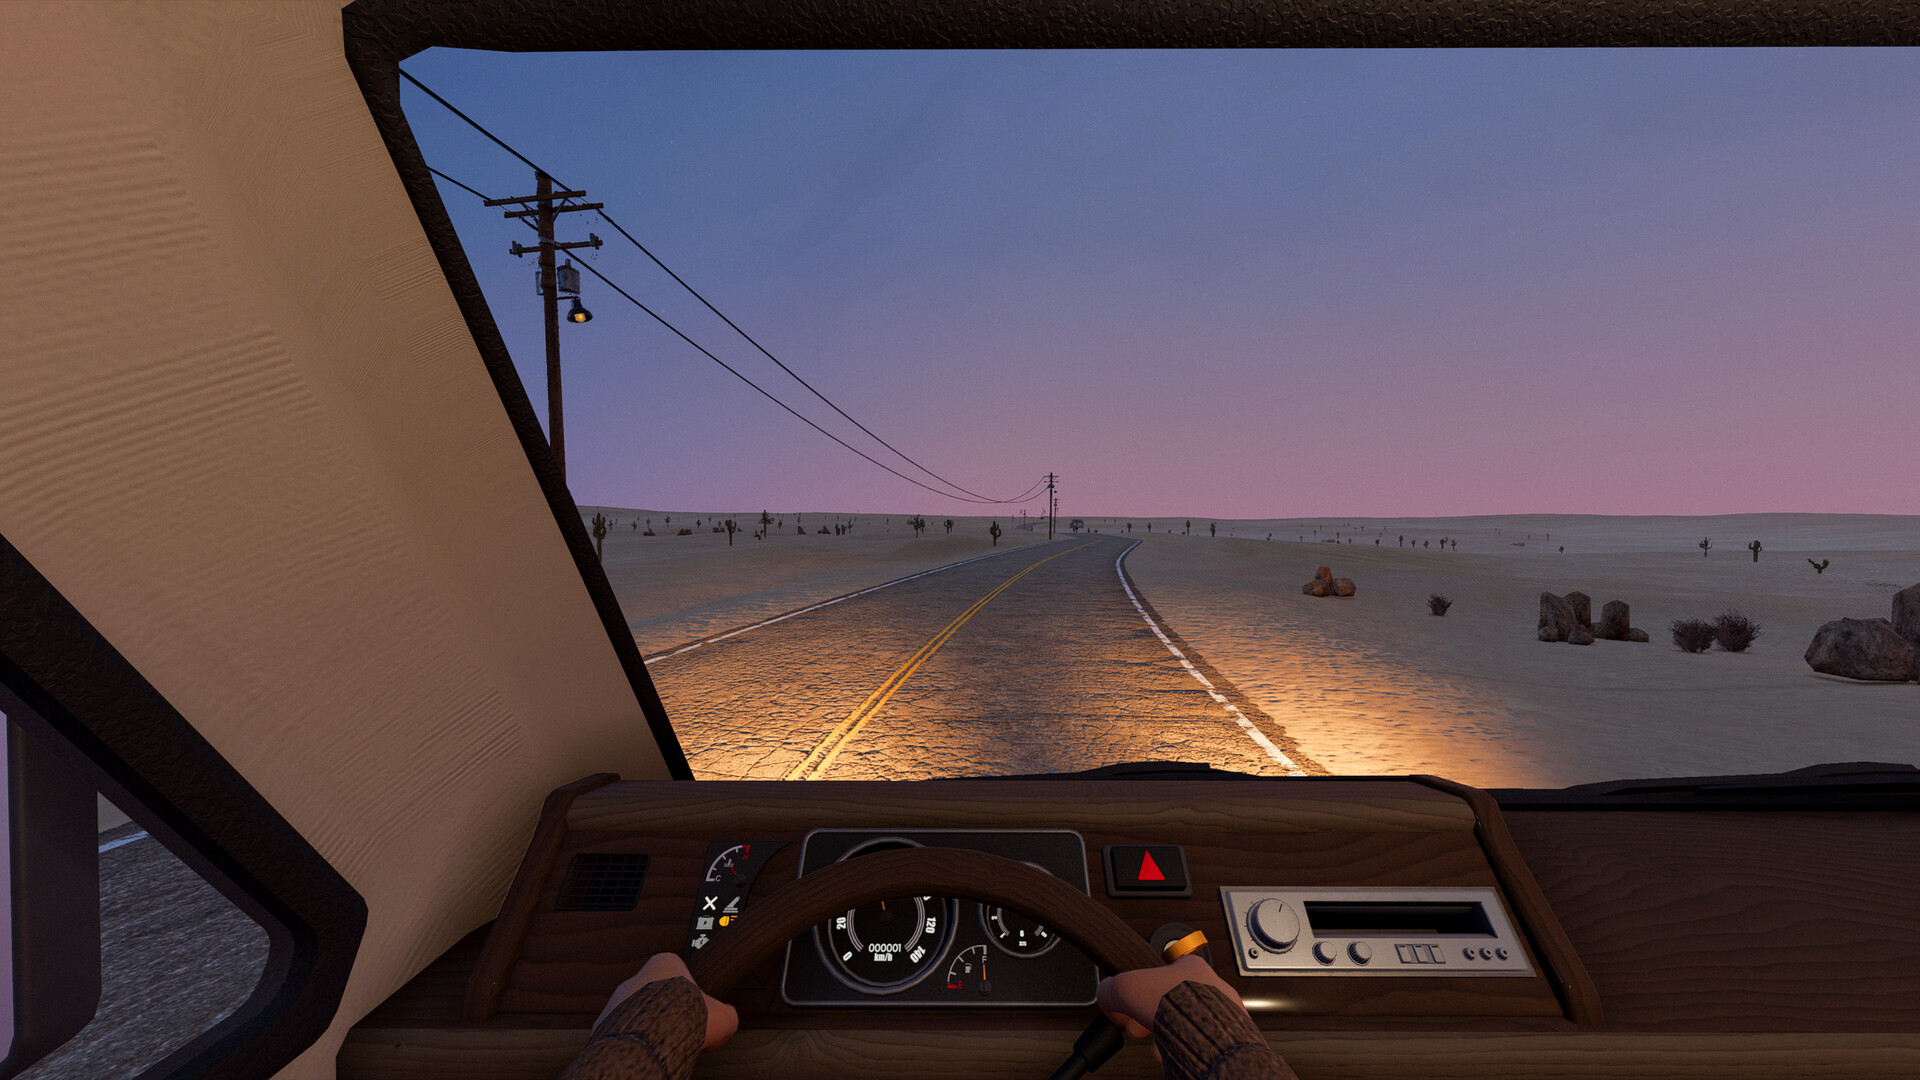
Your Vehicle Choices and How to Switch
Nomad Drive has five obtainable Early Access vehicles: the Hippie Van, C-Class RV, Retro RV, School Bus and Motorcycle. You begin with the Hippie Van; to switch, find a replacement at a major roadside stop, check that it starts and moves, then transfer your essentials before leaving the old vehicle behind.
Every Obtainable Early Access Vehicle
| Vehicle | Details |
|---|---|
| Hippie Van | Your starting travelling base. It comes with level 1 core parts, a steering wheel, a seat and a First Aid Kit. |
| C-Class RV | A roadside RV replacement you can move into. It can be the first replacement you encounter, but the world seed decides which eligible vehicle appears. |
| Retro RV | Another RV option for your next mobile home. It appears along the road and can be the first replacement instead of the C-Class RV or School Bus. |
| School Bus | A roadside replacement you can furnish as a travelling base. It can appear as your first replacement, and its interior walls accept tools, tires and other supported items. |
| Motorcycle | A vehicle with its own Motorcycle Engine and Motorcycle Fuel Tank. Its luggage spot accepts small items, and it cannot be your first replacement vehicle. |
Choose a replacement around what you want to carry and how you want to arrange your home. Compare the candidate with your current vehicle before committing to the move. Treat working parts and a usable interior as priorities over appearance.
Where Roadside Vehicles Appear
The first replacement becomes available at approximately 3–7 km from the start in either direction. It waits at the first major stop you reach after its distance threshold, such as a gas station, radio station or watch tower, rather than a small roadside stop. The next vehicle opportunities occur around 14–18 km, 25–29 km and 36–40 km, with the order determined by your world seed.
The first replacement brings level 2 core parts, while the following initial replacements bring level 3 core parts. Beyond 40 km, further vehicles appear approximately 15–19 km after the previous vehicle, at the next major stop, up to 600 km from the start. These later vehicles follow a reshuffled order without consecutive repeats; every fourth has level 2 core parts and the others have level 3.
Use those distances as a reason to inspect the next major stop, rather than expecting a vehicle at an exact kilometre marker. Keep following the road while checking your supplies. Old demo seed routes do not reproduce the same world in Early Access, so they are not shortcuts to a particular replacement.
Inspect the Replacement Before Moving
- Check the engine and battery. A missing or broken engine, or a missing or depleted battery, can prevent the replacement from starting.
- Inspect the radiator and its liquid. An empty radiator provides no cooling, so a successful ignition alone does not establish that the vehicle is ready for a longer drive.
- Look over the tires, steering and handbrake before departure. Check the fuel supply as well, then use a short driving test to judge whether the replacement is ready.
- Check where your important cargo will fit. Floors accept furniture, shelves accept items that fit, and dashboards accept small items rather than furniture or stoves.
Get the New Vehicle Driving
- Try the replacement's ignition to reveal any starting problem. Its warning identifies issues involving the engine, battery, fuel or handbrake.
- Resolve the problem named by the ignition before trying again. More than one fault can apply, so another warning may appear after the current problem is fixed.
- Fill the radiator with water or coolant for cooling during the drive. If it already contains either liquid, top up with the same kind because water and coolant cannot mix.
- Release the handbrake when you are ready to test movement. An engaged handbrake is one of the warnings the ignition can display.
- Make a short driving test near your parked vehicle. Check that the replacement starts, moves and responds before committing your supplies to it.
Move Your Essentials and Secure the Cargo
- Park your current vehicle close to the replacement. Keeping the transfer route short makes it easier to work through your supplies without overlooking a load.
- Transfer your drinking water, food, fuel and medicine before optional decorations. These are the essentials to have aboard before leaving the original vehicle behind.
- Carry over the tools, useful spare parts and repair supplies you want to keep. Put them somewhere accessible so they are easy to find at the next stop.
- Secure each load using Place and Confirm Placement on a suitable surface. Items and furniture placed on supported vehicle surfaces stay put while you drive.
- Check the old vehicle before departure. Finish collecting anything you still want, then leave once the replacement drives and your essentials are aboard.